After experiencing water damage, it’s vital to document everything thoroughly. You’ll want to capture images of affected areas like walls and floors, but don’t overlook structural issues or personal belongings. Each photo serves a purpose, especially when it comes time to file that insurance claim. So, what specific shots should you focus on to guarantee you cover all your bases? Let’s examine the fundamental types of photos you need to take.
Key Takeaways
- Capture images of affected areas, including walls, ceilings, and floors, to document moisture, discoloration, or warping.
- Document structural damage, such as cracks or sagging, with close-ups to illustrate severity and aid insurance claims.
- Take detailed photos of personal belongings, noting brand names and estimated values for inventory and recovery purposes.
- Highlight water sources by photographing leaks, damaged roofs, or malfunctioning appliances contributing to water damage.
- Record any mold or mildew growth with various angles and close-ups, noting types for effective remediation efforts.
Assessing the Affected Areas
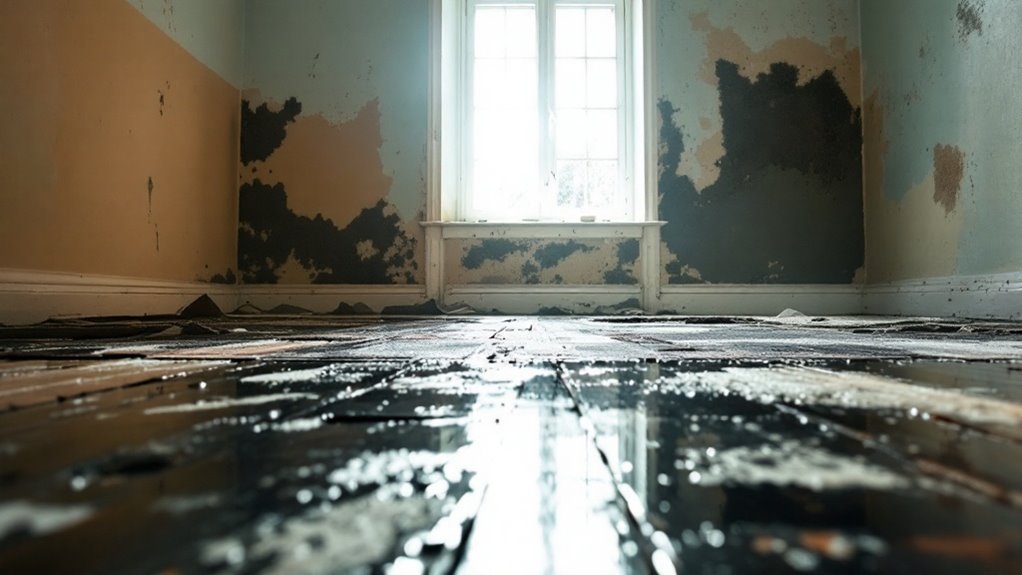
When dealing with water damage, the first step is evaluating the affected areas. You’ll want to thoroughly inspect each room, looking for signs of moisture, discoloration, or warping. Check walls, ceilings, and floors, in addition to any furniture or belongings that may have been impacted. Don’t forget to look in hidden spots like behind appliances or under rugs. Take note of the severity and spread of the damage. It’s vital to document everything; clear photos can help you communicate effectively with insurance adjusters later. Pay attention to the source of the water, whether it’s a leak, flooding, or a burst pipe, since this will guide your next steps in addressing the situation. Additionally, keep in mind that urgent response is crucial to mitigate structural damage and health hazards.
Capturing Structural Damage
When capturing structural damage, focus on documenting the affected areas clearly. Take close-up shots of any cracks, warping, or signs of compromise to highlight the severity of the damage. This visual evidence can be essential for insurance claims and future repairs. Additionally, understanding the source of water intrusion can help provide context for the damage and aid in future prevention efforts.
Document Affected Areas
Documenting the affected areas after water damage is crucial for evaluating structural integrity. Start by taking wide-angle shots of the entire room to capture the overall impact. Focus on specific areas where you notice visible damage, like warped walls, ceilings, or floors. Make sure to photograph any water stains, peeling paint, or buckling materials, as these can indicate deeper issues. Don’t forget to include close-ups of damaged fixtures, such as windows or doors, to show how water has affected them. Consistently label your photos with dates and descriptions to help in future assessments. This thorough visual record will be invaluable for insurance claims and restoration efforts, ensuring you don’t overlook any significant details. Additionally, be aware that water damage can lead to serious long-term effects that threaten structural integrity if not addressed promptly.
Highlight Structural Compromise
After you’ve documented the affected areas, it’s time to focus on highlighting structural compromise. Capturing the damage to your home’s structure is vital for insurance claims and repairs. Here’s what to photograph:
- Cracks in Walls or Foundations: Look for any visible cracks, as they can indicate serious issues.
- Sagging Ceilings or Floors: Take pictures of any areas that appear to sag, suggesting weakened support.
- Water-logged Wood: Capture images of warped or rotting wood, which can undermine stability.
- Detached or Misaligned Structures: Document any structural elements that have shifted or detached, like doors and windows.
These photos will help illustrate the extent of the damage and support your case for necessary repairs.
Documenting Personal Belongings
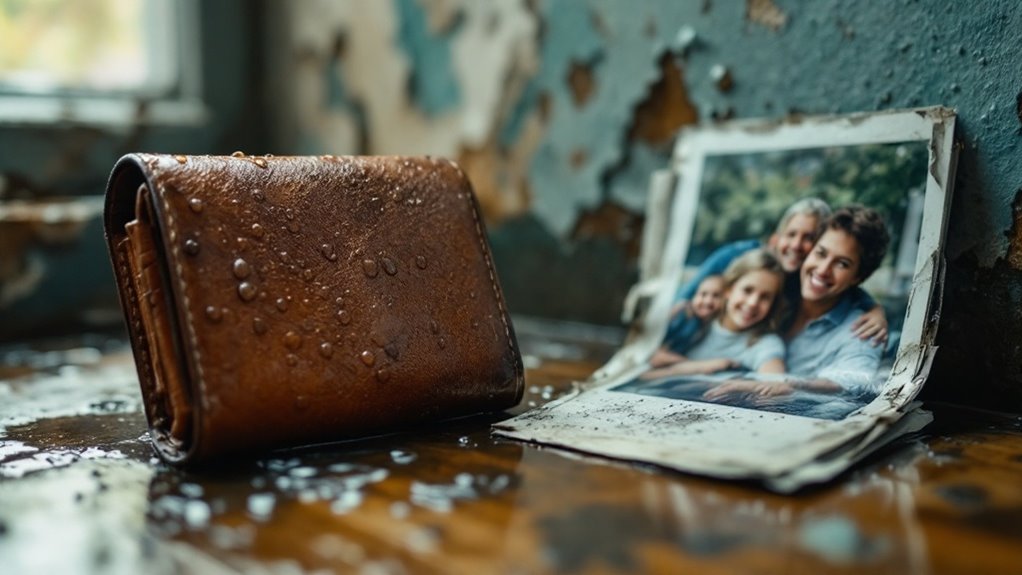
Although it can be overwhelming, documenting personal belongings after water damage is crucial for insurance claims and recovery efforts. Start by taking clear photos of each item, capturing details like brand names, model numbers, and any visible damage. Group similar items together, such as electronics, furniture, or clothing, to make your documentation more organized. Don’t forget to photograph the surrounding areas where these items were located, as it can provide context for your claim. If possible, create a written inventory that lists each item along with its estimated value. This thorough documentation will support your insurance claims and help you keep track of what needs replacing or restoring, easing your recovery process.
Highlighting Water Sources
While evaluating the damage, it’s essential to highlight the sources of water that caused the issues in your home. Identifying these sources helps you understand the extent of the problem and aids in future prevention.
- Leaky Pipes: Capture images of any visible leaks or dripping pipes.
- Roof Damage: Take photos of missing shingles or water pooling on the roof.
- Basement Flooding: Document any standing water or damp areas in your basement.
- Appliance Malfunctions: Snap pictures of malfunctioning appliances, like washing machines or dishwashers, that may have caused the leak.
Recording Mold and Mildew Growth
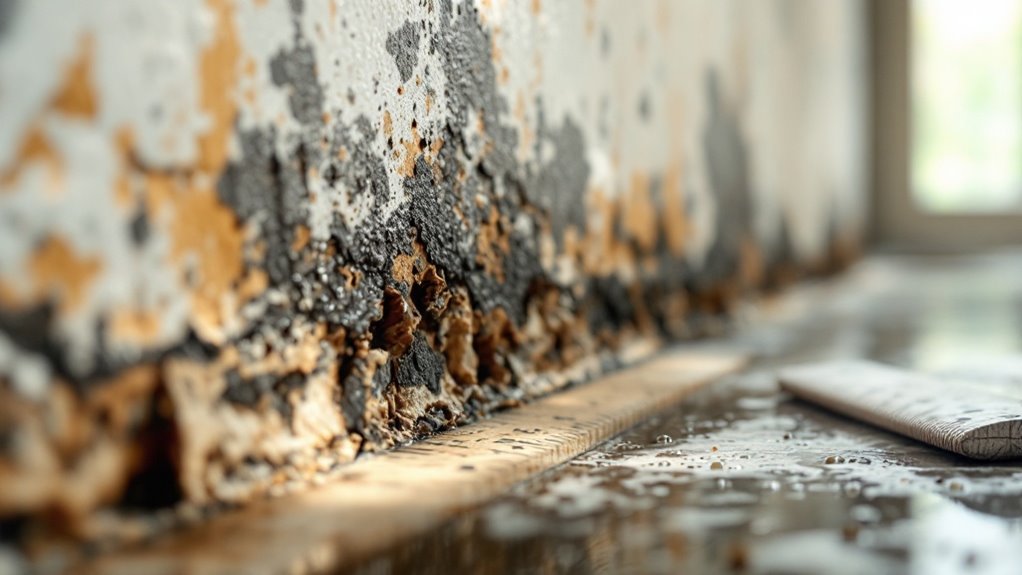
As you assess the aftermath of water damage, it’s vital to record any mold and mildew growth that may have developed in your home. Mold can spread quickly and pose health risks, so capturing detailed photos is important. Make sure to document various angles and close-ups to show the extent of the growth.
Here’s a quick reference table for types of mold and their appearances:
| Type of Mold | Appearance |
|---|---|
| Black Mold | Dark black or greenish |
| White Mold | Powdery white patches |
| Yellow Mold | Yellowish, fuzzy growth |
Showing Repair Progress Over Time
To truly appreciate the restoration process, you should document the initial damage with clear photos. As repairs progress, capturing each stage will help you see the transformation unfold. This visual record not only highlights your efforts but additionally serves as a powerful reminder of resilience.
Document Initial Damage
When you document the initial damage from water intrusion, you’re not just capturing a moment in time; you’re laying the foundation for effective repairs. This visual record helps you communicate with insurance adjusters, contractors, and restoration specialists. Here are four key aspects to focus on:
- Extent of Damage: Capture wide shots that show the overall affected area.
- Specifics: Zoom in on particular spots, like stained walls or warped floors.
- Water Source: Document where the water came from, whether it’s a leak or flood.
- Contents Affected: Take photos of damaged belongings, as this helps in inventory and claims.
Capture Restoration Stages
Capturing the restoration stages not only tracks progress but likewise provides a visual narrative of your recovery journey. As you document each phase, take photos that highlight significant changes. Start with images of the initial cleanup, then capture the drying process. Show the installation of new materials, like flooring or drywall, and don’t forget to photograph any repairs made to plumbing or electrical systems. These images serve as proof of the work done and can be invaluable for insurance claims. Plus, they help you appreciate how far you’ve come. Be sure to date each photo, so you can create a timeline of the restoration. This way, you’ll have an extensive record of the entire process.
Conclusion
In the aftermath of water damage, your photos are like a lifeline, capturing essential evidence for your insurance claims and recovery efforts. By thoroughly documenting every affected area, from structural issues to personal belongings, you’ll create a compelling narrative of the destruction. Don’t underestimate the power of these images; they can make a significant difference in your claim process. Remember, a clear record is your best ally in reclaiming your space and moving forward.