You can save thousands on water damage restoration by taking charge of the situation yourself. Start by evaluating the source of the water and using a moisture meter to check levels. Act quickly to remove standing water with a wet/dry vacuum and set up dehumidifiers to control humidity. Clean and disinfect affected areas to prevent mold growth. Inspect for structural damage and prioritize repairs. Always wear protective gear and consider the risk of contaminants. With the right tools and techniques, you can tackle most issues efficiently. Keep going to uncover more helpful strategies and detailed steps for your DIY restoration project.
Assessing Water Damage

When dealing with water damage, the first step is to assess the extent of the problem. Begin by conducting a thorough water source identification—locate where the water's coming from. It could be a leaky pipe, a roof issue, or even flooding from outside. Knowing the source helps you understand the urgency and how to tackle the situation.
Next, gather your damage assessment tools. A moisture meter is crucial for measuring the moisture levels in walls, floors, and ceilings. You'll likewise want a flashlight for inspecting dark areas, and possibly a camera to document the damage. This documentation can be incredibly useful if you need to file an insurance claim later.
As you assess, look for signs of structural damage, mold growth, or discoloration, which may indicate long-term issues. Pay attention to hidden areas like behind appliances and under sinks, as these spots are often overlooked. By carefully evaluating the situation, you'll be better equipped to move forward with the restoration process. Remember, the sooner you act, the less damage you'll likely incur, saving you both time and money in the long run.
Safety First: Precautions to Take
After evaluating the damage, it's crucial to prioritize your safety before starting any restoration work. Begin by gathering the right personal protective equipment (PPE). This includes gloves, goggles, and a mask to shield yourself from contaminants and mold that may have formed. You never know what lurking hazards you might encounter, so being prepared is key.
Next, consider creating an emergency evacuation plan. Assess the layout of your home and identify the quickest exit routes. If you're dealing with significant water damage, it's wise to have a plan in place in case the situation worsens or electrical hazards arise. Inform your family members about this plan, ensuring everyone knows what to do and where to go in an emergency.
Essential Tools and Supplies

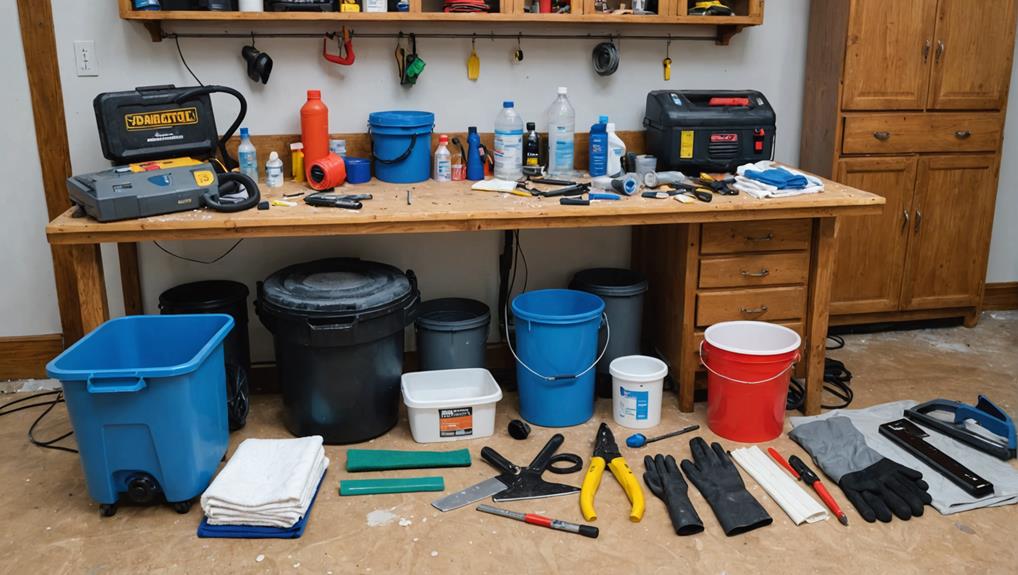
Having the right tools and supplies can make all the difference in an effective water damage restoration process. First and foremost, you'll need a reliable moisture meter. This handy device helps you determine the moisture levels in walls, floors, and other materials, ensuring you know exactly where to focus your efforts.
For water extraction, a high-capacity wet/dry vacuum is vital. This tool allows you to remove standing water quickly and efficiently, minimizing damage and preventing mold growth. If you're dealing with extensive water damage, consider renting a professional-grade water extractor for faster results.
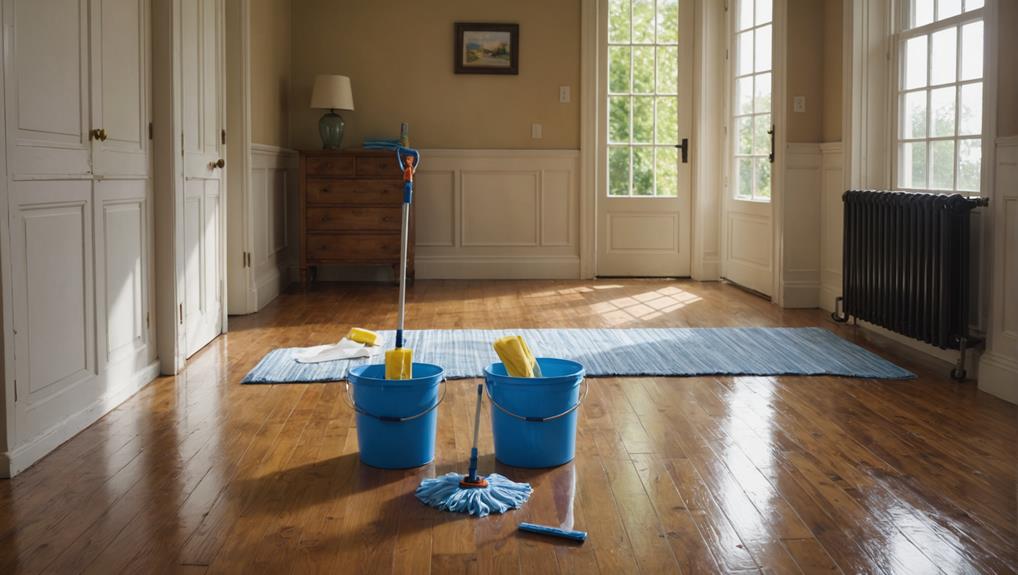
Other significant supplies include dehumidifiers to reduce humidity in the air and fans to promote airflow, both fundamental for drying out affected areas. Don't forget to stock up on absorbent towels and mops for initial clean-up efforts, along with protective gear such as gloves and masks to keep you safe during the process.
Lastly, having a sturdy bucket on hand for collecting debris and a good flashlight will help illuminate dark areas, making your restoration efforts smoother. With these vital tools and supplies, you're well on your way to tackling water damage like a pro!
Step-by-Step Drying Process
Once you've assessed the extent of the water damage, it's essential to implement effective drying techniques to prevent mold and further issues. Start by removing standing water and then use fans and dehumidifiers to expedite the drying process. By following these steps, you'll not only address the immediate problem but additionally safeguard your space against future water damage.
Assessing Water Damage
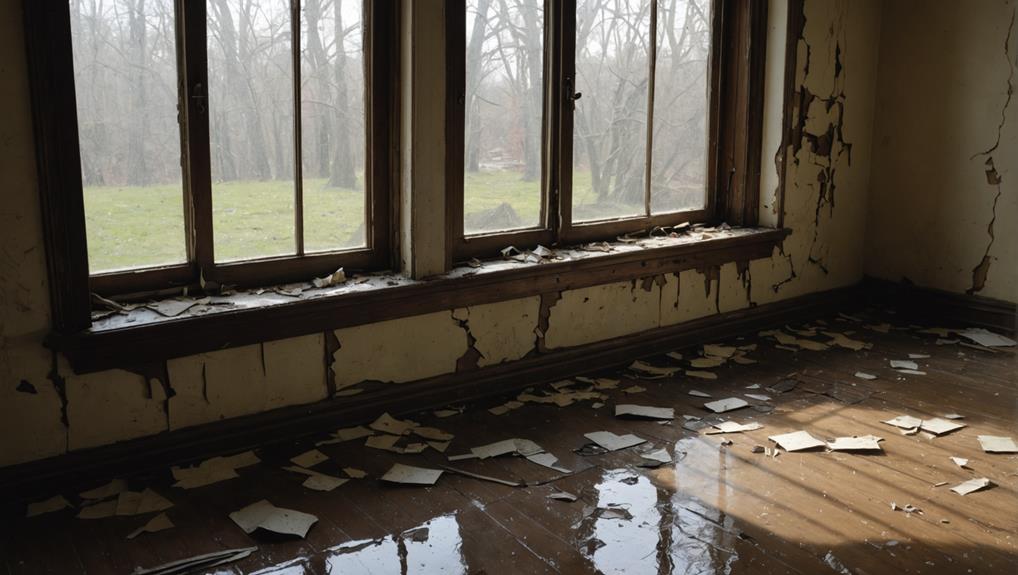
Your home's integrity relies heavily on how quickly and effectively you assess water damage. Start with an initial evaluation of the affected area. Look for visible signs of water intrusion, including water stains, discoloration, or any bubbling of paint and wallpaper. These damage indicators can help you pinpoint the source and extent of the problem.
Next, check for structural components. Inspect walls, ceilings, and floors for softness or warping, which could signal deeper damage. Pay special attention to areas around windows, doors, and plumbing fixtures, as these are common culprits. Don't forget to examine your belongings; furniture, carpets, and textiles can similarly absorb moisture.
Use a moisture meter if you have one—it's a handy tool that gives you precise readings. If you notice heightened moisture levels, make a note of it, as it'll aid in your drying strategy later on. Document everything with photos and notes, as thorough record-keeping can be invaluable if you decide to file an insurance claim.
Effective Drying Techniques
Start the drying process immediately to minimize damage and prevent mold growth. First, remove any standing water using a wet/dry vacuum or mop. Next, focus on dehumidifier placement; put it in the most affected areas to effectively reduce humidity levels. Verify doors and windows are closed to maximize efficiency.
Once the dehumidifier's running, use fans to promote air circulation. Position them to blow air across damp surfaces, which helps speed up evaporation. If possible, open interior doors to increase airflow throughout the space.
Regularly check your progress through moisture monitoring. You can use a moisture meter to gauge if surfaces are drying adequately. Aim for a moisture level below 15% for wood and similar materials.
After a couple of days, reassess the area. If things still feel damp, reposition your dehumidifier or fans to target those stubborn spots. It's all about persistence; drying can take time, but staying proactive will help you avoid costly repairs down the line. Trust the process, and soon you'll reclaim your space from the water damage!
Preventing Future Issues
After addressing the immediate drying needs, taking steps to prevent future water damage is vital. Start by evaluating your home for vulnerabilities. Look for areas where water tends to pool, like basements or near window sills. Installing drainage solutions, such as gutters or French drains, can redirect water away from your home, greatly reducing the risk of future leaks.
Next, consider using water-resistant materials for renovations or repairs. For instance, opt for water-resistant drywall or flooring in high-risk areas. These materials can withstand moisture better than traditional options, minimizing damage if water intrusion occurs again.
Regular maintenance is important, too. Check your roof for leaks, clean gutters regularly, and inspect plumbing for potential issues. This proactive approach can save you from costly repairs down the line.
Cleaning and Disinfecting Affected Areas

When dealing with water damage, cleaning and disinfecting affected areas is vital to prevent mold growth and guarantee a safe environment. Here's how to tackle it effectively:
- Remove Excess Water: Use a wet/dry vacuum or towels to soak up standing water. The quicker you act, the better your mold prevention efforts will be.
- Choose Disinfectant Options: Opt for a disinfectant that's suitable for porous and non-porous surfaces. Bleach is often recommended, but be cautious; it can damage some materials. Alternatives like hydrogen peroxide or vinegar can effectively kill mold spores without harmful effects.
- Thoroughly Clean Surfaces: Scrub the affected areas with a mixture of your chosen disinfectant and water. Pay special attention to corners and crevices where moisture can linger. Rinse with clean water afterward to verify no residue remains.
Repairing Structural Damage
After cleaning and disinfecting, you need to assess the structural integrity of your home to identify any damage caused by water. Look for signs like sagging ceilings, warped walls, or weakened support beams, as these can indicate serious issues. Once you've pinpointed the problems, you'll want to investigate various repair techniques to restore your home's strength and safety.
Assessing Structural Integrity
Evaluating structural integrity is vital in the aftermath of water damage, as hidden issues can compromise your home's safety. You want to guarantee that your living space remains secure and comfortable. Here are three key steps you should take:
- Foundation Evaluation: Check for cracks or shifts in your foundation. Look for signs of settling or buckling, which can indicate serious issues that need immediate attention.
- Moisture Detection: Use a moisture meter to assess areas that may have absorbed water. Pay close attention to walls, floors, and ceilings. Any lingering moisture can lead to mold growth, further deteriorating your home's structure.
- Inspect Framing and Supports: Examine wooden beams, joists, and other structural elements for signs of warping or rot. If you notice any soft spots or discoloration, it's vital to address these before proceeding with repairs.
Repair Techniques Overview
Repairing structural damage from water exposure can seem intimidating, but with the right techniques, you can restore your home's integrity. Start by evaluating the extent of the damage. Look for warped wood, weakened beams, or crumbling drywall. Once you've identified the affected areas, it's essential to control moisture levels. Use drying equipment, like dehumidifiers and fans, to eliminate excess water. This step is crucial; if moisture remains, it can lead to mold growth and further structural issues.
Next, replace any severely damaged materials. For wooden beams, verify they're completely dry before reinstallation. You might need to cut out compromised sections of drywall and replace them with new sheets, sealing the edges properly to prevent water intrusion in the future.
Preventing Future Water Issues

Preventing future water issues requires a proactive approach to home maintenance and awareness of potential vulnerabilities. By taking some crucial steps, you can greatly reduce the risk of water damage in your home.
- Inspect and Maintain Gutters: Regularly check your gutters and downspouts to verify they're clear of debris. Clogged gutters can lead to overflow, causing water to seep into your foundation.
- Implement Moisture Control: Utilize dehumidifiers in damp areas like basements and bathrooms. Keeping humidity levels low helps avert mold growth and structural issues.
- Explore Waterproofing Solutions: Consider applying waterproof coatings to your basement walls or installing sump pumps. These solutions can provide an extra layer of protection against water intrusion.
When to Call Professionals
Even with the best preventive measures in place, water damage can still occur, and knowing when to seek professional help is key to minimizing potential harm. If you notice signs like persistent dampness, discoloration on walls or ceilings, or a musty smell, it's time to act. These signs indicate urgency; delaying could lead to mold growth or structural damage that's far costlier to fix.
Consider the extent of the damage. If it's widespread or involves major systems like plumbing or electrical, professionals are crucial. They have the expertise and equipment to handle complex situations that DIY methods can't adequately address. In addition, if the water source is contaminated—think sewage or floodwater—don't hesitate to call in the pros. Your health and safety are paramount.
While hiring professionals may seem like an added expense, weigh the cost considerations against potential long-term damage and repair costs. Investing in expert help now can save you from a financial headache later. Remember, when in doubt, it's better to err on the side of caution. Your home—and your peace of mind—deserve it.
Conclusion
You might think water damage restoration is too complicated, but with the right tools and steps, you can tackle it yourself and save a fortune. By following the guidelines we've outlined, you can effectively manage the drying, cleaning, and repairing processes. Plus, taking preventive measures guarantees you won't have to deal with this issue again. So roll up your sleeves, trust your abilities, and reclaim your space—your wallet will thank you!
