Water damage can feel like a storm cloud hanging over your home, threatening its safety and integrity. You need to navigate the water restoration process step-by-step to guarantee everything returns to normal. From evaluating the damage to the final touches of restoration, each phase plays a vital role. Understanding these steps not only helps you react effectively but likewise prepares you for what lies ahead in this fundamental undertaking.
Key Takeaways
- Assess the damage by inspecting areas for water intrusion, structural issues, and documenting findings for insurance claims.
- Initiate water extraction immediately using pumps and vacuums to prevent further damage.
- Set up fans and dehumidifiers to promote airflow and reduce moisture levels in affected areas.
- Clean and sanitize surfaces with appropriate agents to remove debris and prevent mold growth.
- Complete restoration by repairing or replacing damaged materials and restoring the space to its original condition.
Assessing the Damage
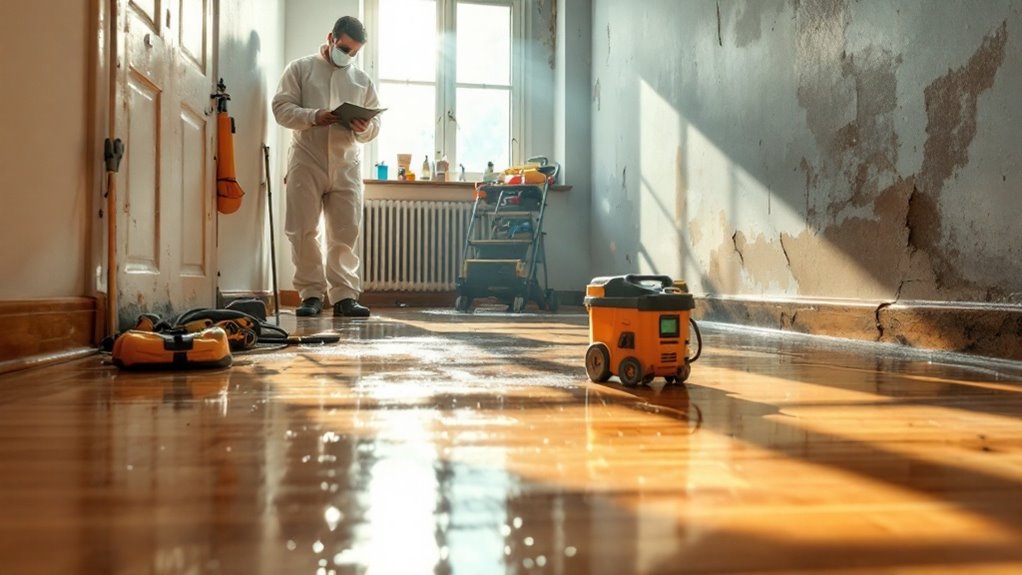
Assessing the Damage
Before you begin the water restoration process, it’s vital to assess the damage thoroughly. Start by inspecting the affected areas, looking for signs of water intrusion, such as discoloration, mold, or warped materials. Check your walls, floors, and ceilings, noting any structural issues. Don’t forget to identify the source of the water; this step is imperative to prevent further damage. Take photos for documentation, as this can help with insurance claims. Make a list of damaged items and prioritize what needs immediate attention. Understanding the extent of the damage will guide your next steps in the restoration process. Remember, addressing the damage accurately now saves time and money later. Additionally, ensure that you conduct a thorough roof inspection to prevent future water intrusion issues.
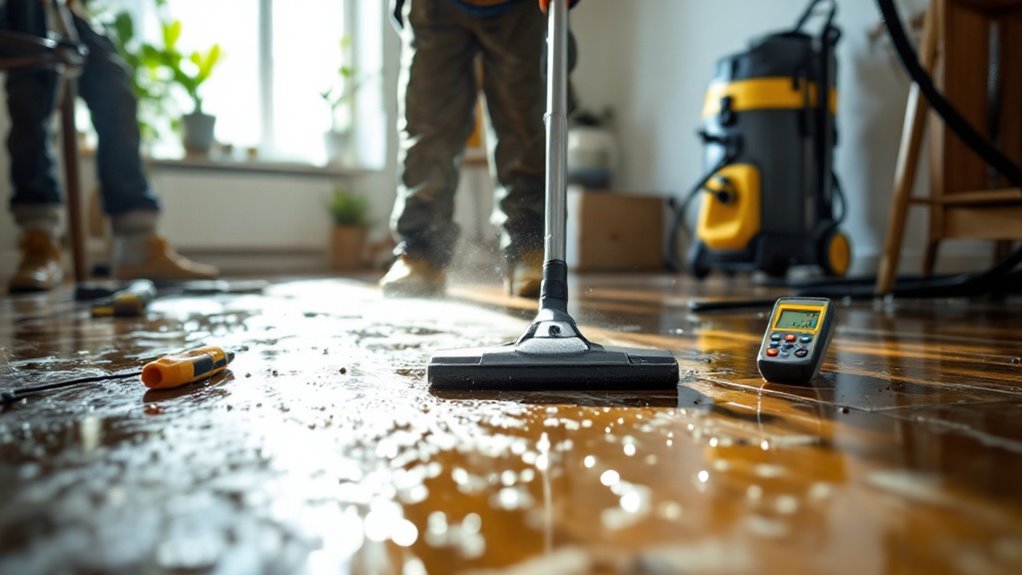
Water Extraction
Water extraction is a crucial step in the water restoration process, and it should be initiated as soon as possible. This phase helps remove standing water from your home, preventing further damage and mold growth. Professionals typically use powerful pumps and vacuums to guarantee thorough extraction. Additionally, the team consists of certified professionals with extensive training in water damage restoration to ensure the process is handled effectively.
Here’s a quick overview of the water extraction process:
| Step | Description |
|---|---|
| Assessment | Evaluate the extent of water damage |
| Equipment Setup | Set up pumps and vacuums |
| Water Removal | Extract standing water |
| Debris Clearance | Remove damaged materials |
| Final Inspection | Verify all water is extracted |
Drying and Dehumidification
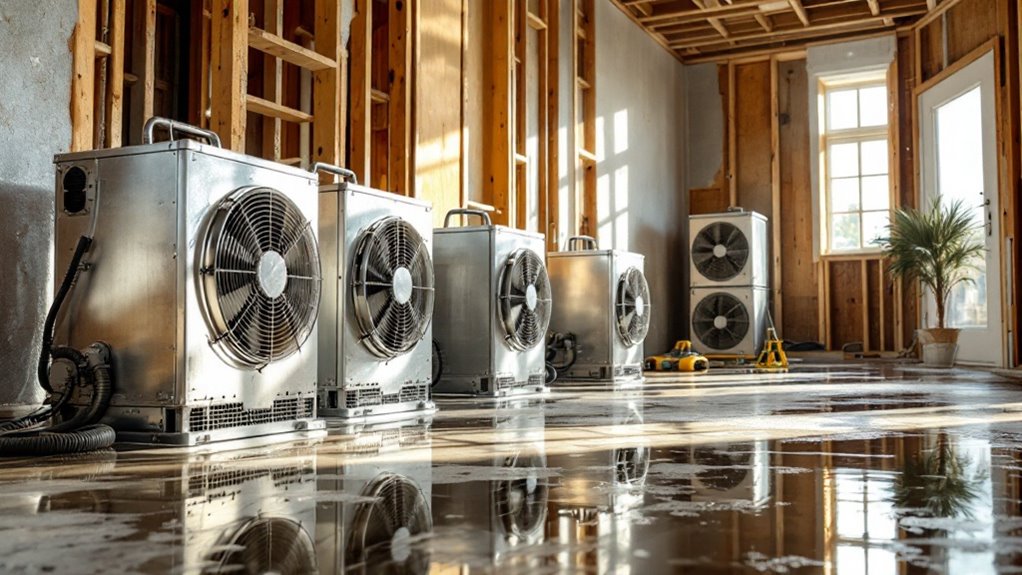
Once standing water has been removed, drying and dehumidification become vital to restore your home effectively. You’ll need to set up fans and dehumidifiers to promote airflow and reduce moisture levels. It’s important to target all affected areas, including walls, floors, and furniture. Pay special attention to hidden spaces, like behind cabinets or inside walls, where moisture can linger. This process typically takes several days, so be patient and monitor the humidity levels regularly. You may want to take into account using moisture meters to guarantee everything’s drying properly. Remember, effective drying prevents mold growth and further damage, so take these steps seriously. Additionally, a swift response in water extraction is critical to minimizing long-term damage and ensuring a thorough restoration. Once everything is dry, you’ll be ready to move on to the next phase of restoration.
Cleaning and Sanitizing
Cleaning and sanitizing is essential after drying your space, and it’s important to tackle this step thoroughly. Begin by removing any remaining debris and dirt from the affected areas. Use a mixture of water and a suitable cleaning agent to wipe down surfaces, making sure you reach corners and crevices where mold and bacteria can hide.
After cleaning, it’s imperative to sanitize. Apply a disinfectant that’s effective against waterborne pathogens and follow the manufacturer’s instructions for the best results. Don’t forget to focus on high-touch areas like doorknobs and light switches.
Finally, allow surfaces to dry completely to prevent mold growth. By effectively cleaning and sanitizing, you’ll help guarantee a safe and healthy environment in your restored space.
Restoration and Repairs
After you’ve thoroughly cleaned and sanitized the area, it’s time to focus on restoration and repairs. This vital step guarantees your space returns to its original condition, both functionally and aesthetically. You’ll want to address any damage caused by water exposure quickly to prevent further issues.
Here are three key aspects to reflect on:
- Repairing Structural Damage: Walls, floors, and ceilings may need repairs or replacements to maintain safety and integrity.
- Restoring Belongings: Salvage furniture, electronics, and personal items whenever possible to reclaim what matters most to you.
- Improving Aesthetics: Fresh paint and new flooring can help restore your home’s beauty, making it feel like home again.
Conclusion
In the grand symphony of water restoration, every note plays an essential role. By evaluating the damage, extracting water, drying the space, and cleaning thoroughly, you’re not just restoring a room; you’re breathing new life into it. Each step flows together to create harmony, ensuring your space is safe and welcoming once again. So, roll up your sleeves and welcome the process—your home deserves to shine like a guiding light after the storm!